
No matter the software you are using, if you are planning to print your design project and you have text in it, you should always embed your fonts into your document. There are an endless amount of fonts to choose from these days, and that won’t be changing anytime soon. To ensure that your final product looks how you designed and envisioned, you’ll want to embed your fonts into your document. The process to embed fonts differs a bit from software to software, so here we will cover how to embed fonts in your photoshop document.

Why should I embed fonts?
Your computer comes with a standard set of fonts already installed, but these differ from computer to computer, especially when they are different makes or models. You are also able to download fonts from a variety of free resources online, meaning you likely have fonts on your computer that someone else does not have. Have you ever sent a document to someone using another computer, or even just viewed it on another device and noticed that the design you worked so hard on looks completely different? This is likely due to the device not having the same fonts you used, so it substituted your fonts with similar ones the computer already had installed. The same thing can happen when you submit your projects to your printing company if you have not embedded your fonts into the file. While the fonts will be substituted with similar ones, it will likely look a bit different than you intended. To save yourself the time, hassle, and disappointment of your finished product looking different than you intended, make sure you embed your fonts into your files.
Many professional printing companies accept files in various formats, but PDFs are the preferred file format. Thankfully, you can convert various files, such as Photoshop, Word and InDesign, into PDFs. You still, however, will want to embed your fonts into your file.

If you are looking for how to embed fonts in a PDF, click here.
How to embed fonts in Photoshop
Photoshop is a pixel-based graphics program and the font embedding capabilities are somewhat limited. That being said, there are two ways to embed fonts in Photoshop. You can either choose to “keep the text layer” or “rasterize the text.”
Option 1: keep the text layer
Keeping the text layer is the recommended option as this still allows you to make edits to your text. When you export your document with the existing text layer, Photoshop will embed the fonts into the PDF document. Keeping the text layer is pretty much as simple as it sounds. Instead of taking steps to rasterize the text layer (see below), you would just jump right to exporting the file as a PDF.
Option 2: rasterize the text
When you choose to rasterize the text layer, the font will be fully converted to a pixel graphic and you will no longer be able to edit it as a text layer. When exporting your project to a PDF file, there will be no embedded font in the document. When viewing the file after, you can zoom in and see the jagged edges (rasterization) in the outline of the font. This may be more or less pronounced depending on the size of the font and the resolution of the document. In a document with 300 dpi resolution, this effect is only visible when using a high zoom factor and very big point sizes.
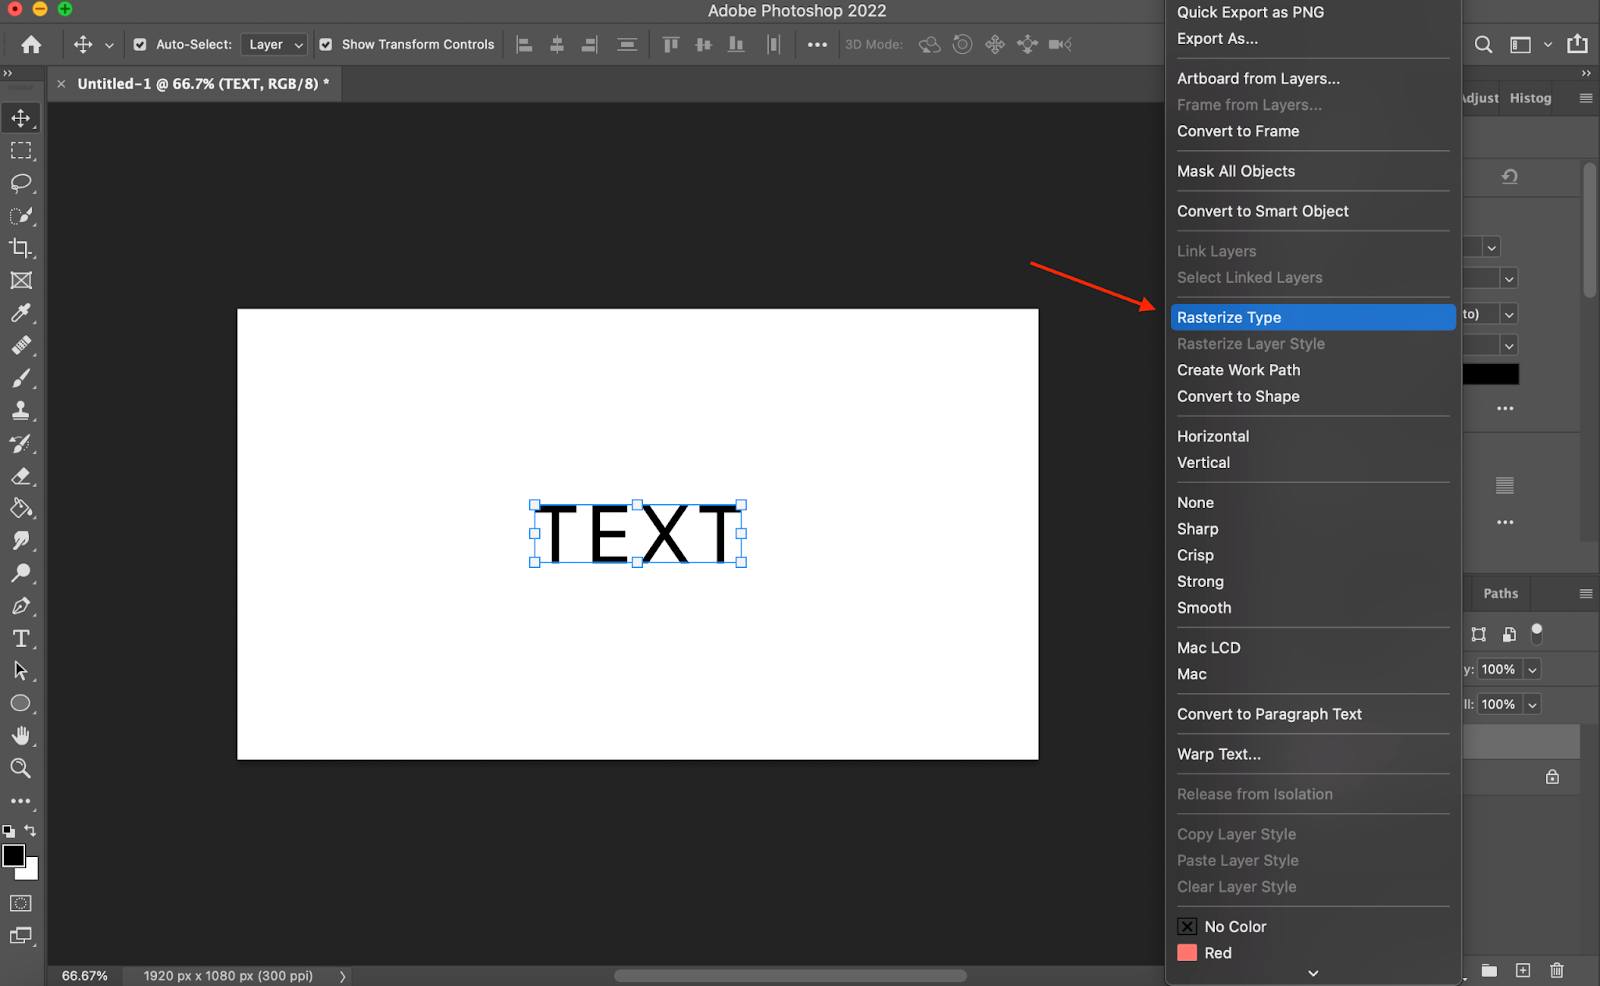
To rasterize your text, you will want to right click your text layer in Photoshop and select Rasterize Type.
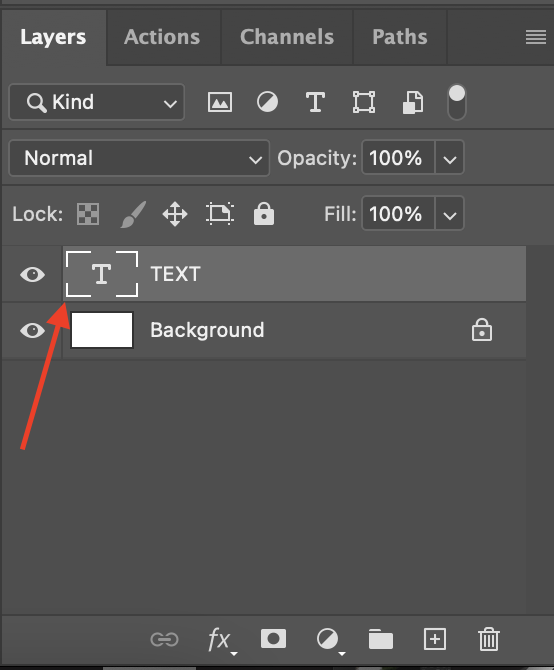
Before you rasterize your text layer, the layer will look like this.
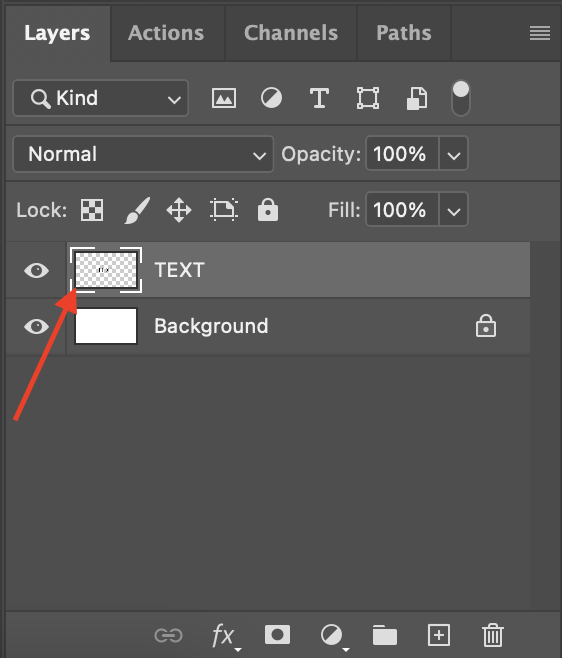
After you rasterize your text layer, the layer will look like this.
Create a PDF from Photoshop
Creating a PDF from Photoshop is quite simple.
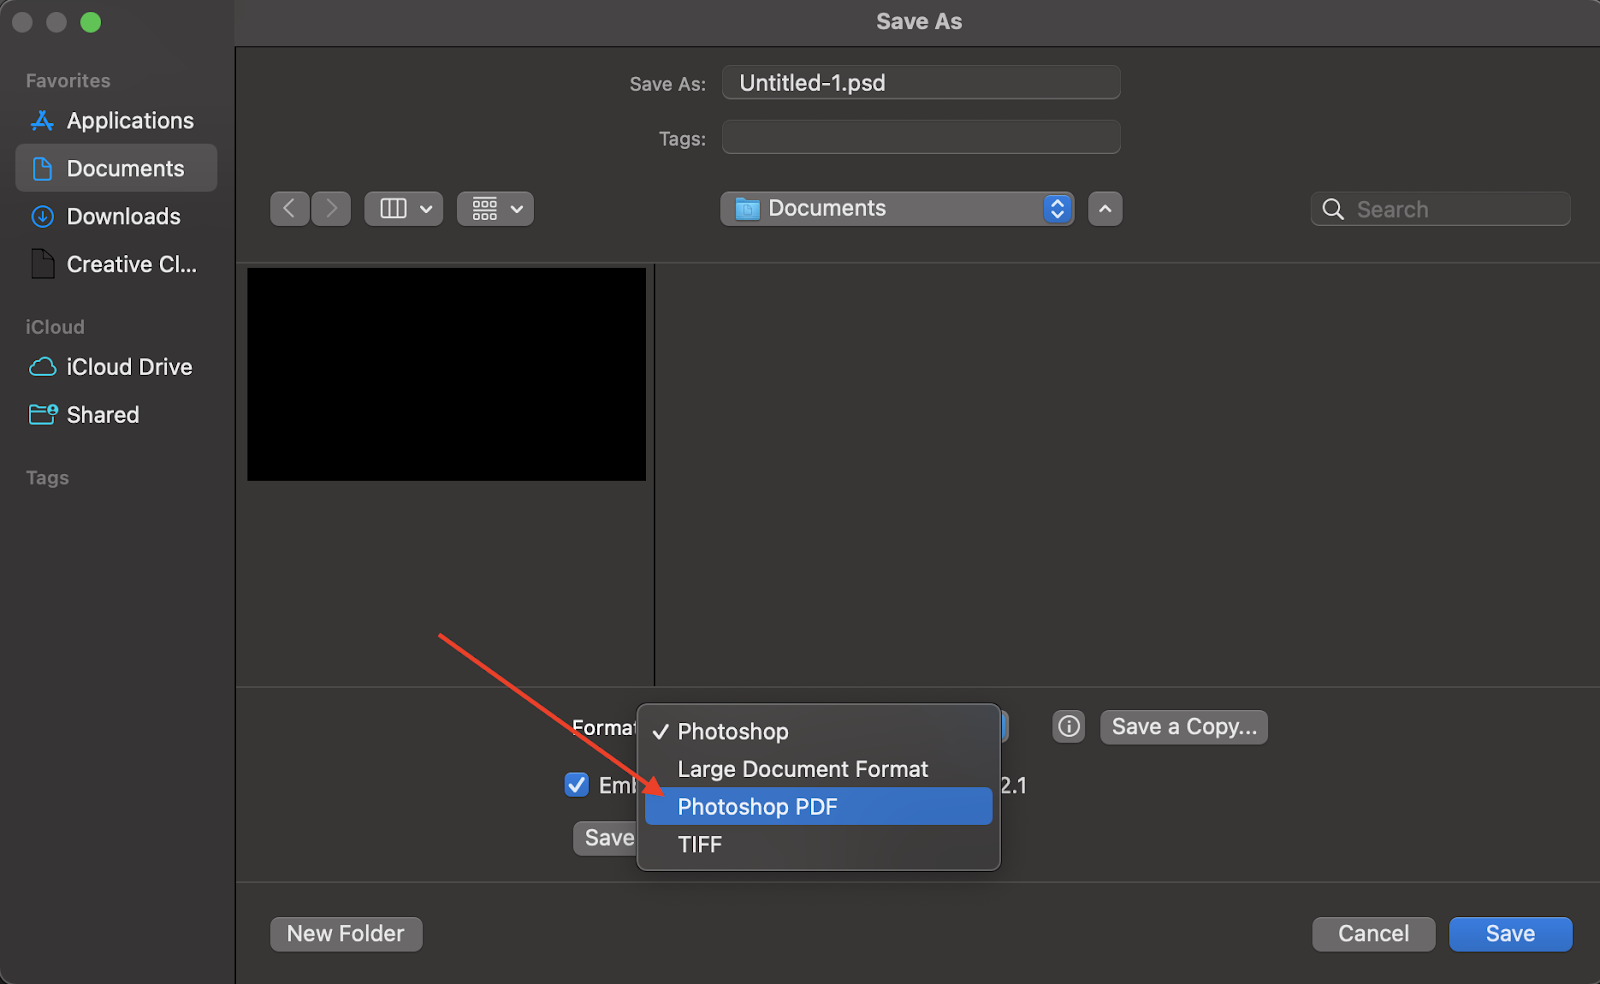
First you click File > Save as and select Photoshop PDF as the file format.

A popup will appear, allowing you to customize the settings of your PDF. Uncheck Preserve Photoshop Editing Capabilities to reduce your file size, making it easier to send to your printer.

Why you should convert your final files to PDF format
As I mentioned above, the preferred file format for most professional printers is PDF. This is because a PDF contains all of the information your printer needs to correctly print your photo. That includes the color profile and any special fonts you use, so long as you embed them in your PDF. A file format such as InDesign or Illustrator does not contain the fonts you use in the file itself, but rather references them. If your printer does not have those fonts on their computer, the file will not be able to reference them when viewed on that computer. Think of it this way, a PDF is essentially your design wrapped up in a neat little package for your printer. A gift one could say. Taking the steps to embed your fonts up front will save you and your printer potential headaches down the line trying to ensure accurate final products.


